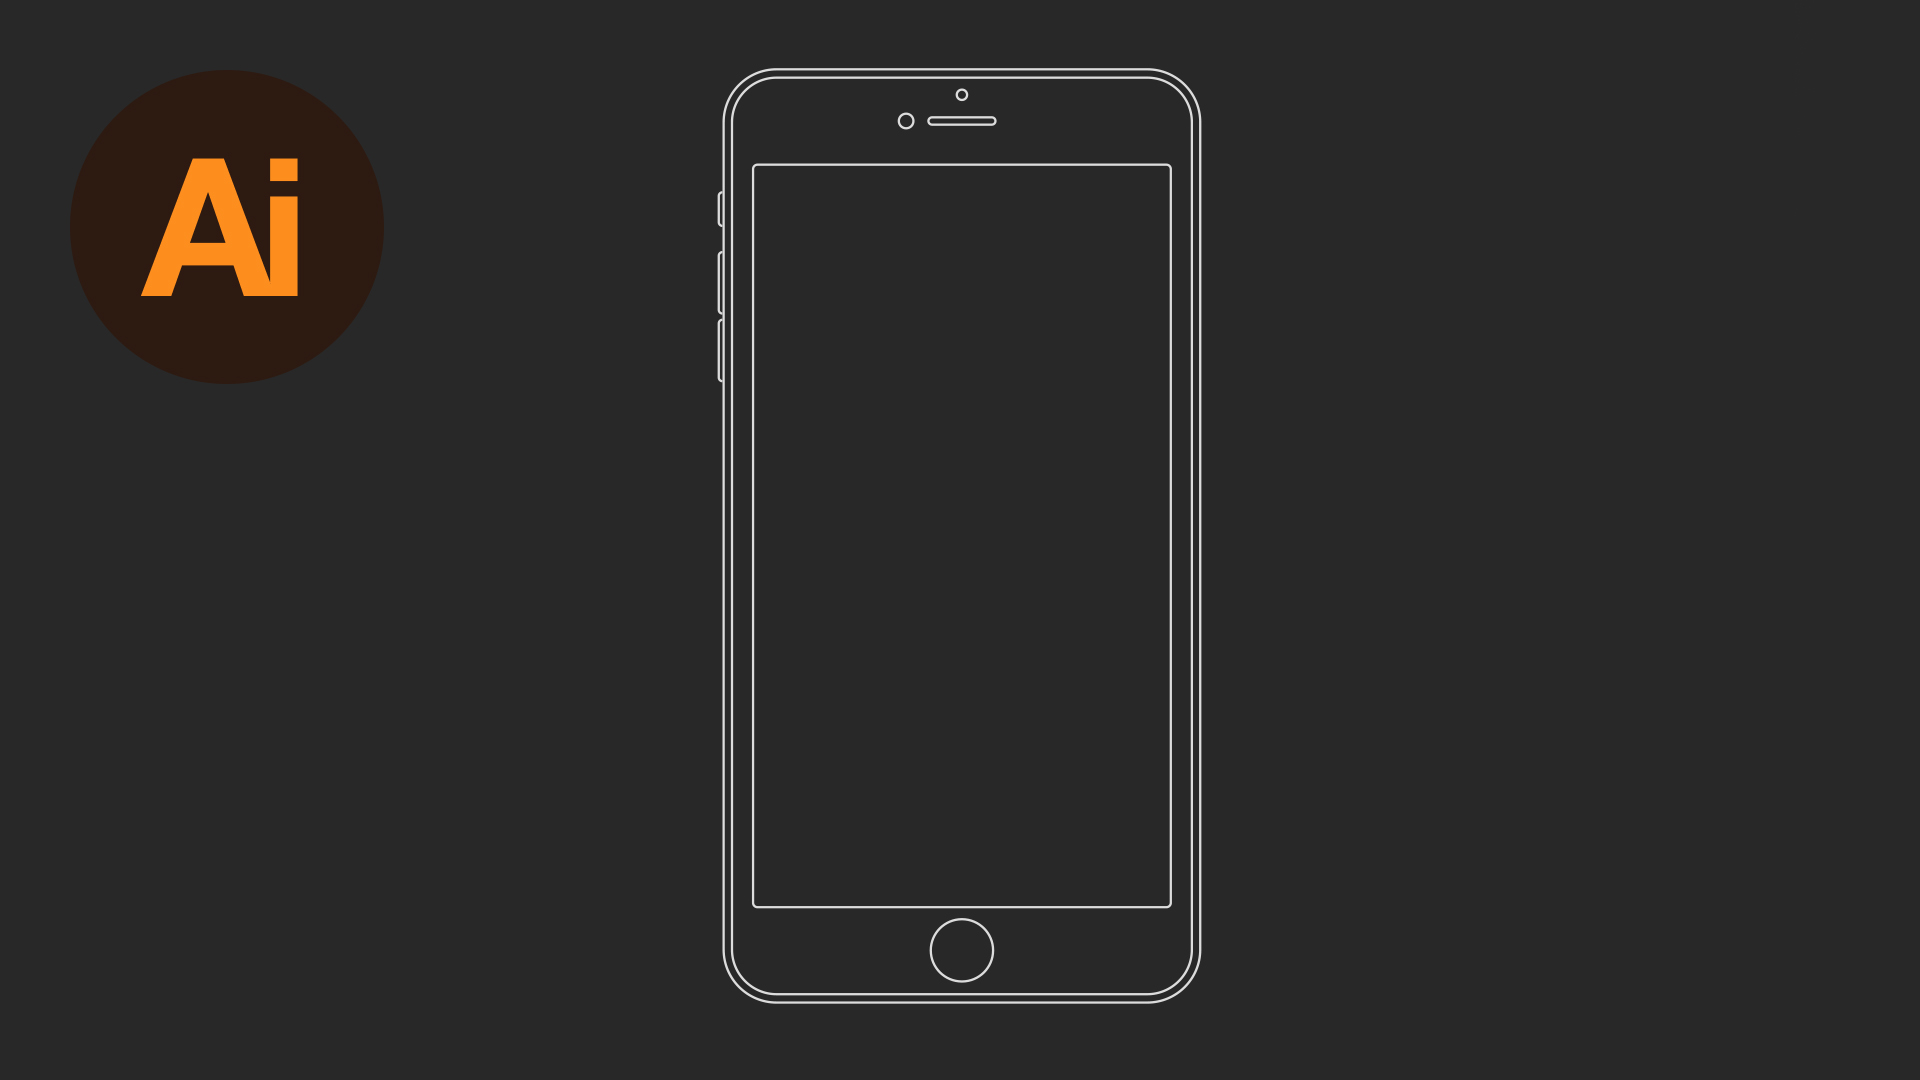
In this tutorial, we’re going to learn how to draw an iPhone 6 wireframe in Adobe Illustrator.
The Steps (1-15)
1. Create a new document.
2. Select the Rectangle Tool, and draw a four-sided shape.
3. In the Transform Palette, give your rectangle a Width of 750 pixels, and a Height of 1334 pixels. This shape will represent the iPhone screen.

4. Make sure that you remove any fill from your shape, and give the shape a stroke. Set the stroke colour to black, and give the stroke a width of your choice.
5. Draw another rectangle that is similar dimensions. However, make this rectangle slightly wider, and much taller, than the rectangle that we created in Step 2-3.
6. With the outer rectangle selected, go to Effect > Stylize > Round Corners, and adjust the radius for your corners. This shape will represent the main body of the iPhone. The radius can be edited in the Appearance Palette if required.

7. Select the outer shape (with rounded corners) and go to Object > Path > Offset Path. Select the Preview box, and adjust the path offset until it’s slightly larger than the current rounded rectangle. This new ‘offset’ shape, will also represent part of the body of the iPhone.
8. Select the Ellipse Tool and hold Shift to draw a circle. Position this circle between the screen and the bottom of the iPhone. This circle will represent the ‘Home’ button on the iPhone.
9. Create two smaller circles, and position these in the area at the top, to represent the iPhone’s camera. All shapes created so far should have no fill, and a consistent stroke width and colour.

10. Using the Rounded Rectangle Tool, also draw a horizontal rectangle in the area at the top to represent the microphone.
11. Again, using the Rounded Rectangle Tool, create a small vertical rectangle for the button on the left side. Use the Direction Selection Tool to drag over half of the rectangle, and once half of the anchor points are selected, press Delete or Backspace to remove this half of the shape.
12. Copy > Paste another two versions of this shape, making one slightly smaller in height, and positioning this at the top. In total, their should be one smaller button, and two larger (equal-sized) buttons.

13. Select the inner most rectangle that represents the iPhone screen, and adjust the inner handles to round-off the corners slightly.
14. Using the Rectangle Tool, create a rectangle with the same dimensions as the artboard, and fill this rectangle with a colour of your choice.
15. Select all of the lines that we’ve created, and adjust the width/colour as necessary, depending on the aesthetics that you would like your iPhone wireframe to be.

Download Adobe Illustrator.


Leave a Reply